
Master Your Bitcoin Miner Setup 2026
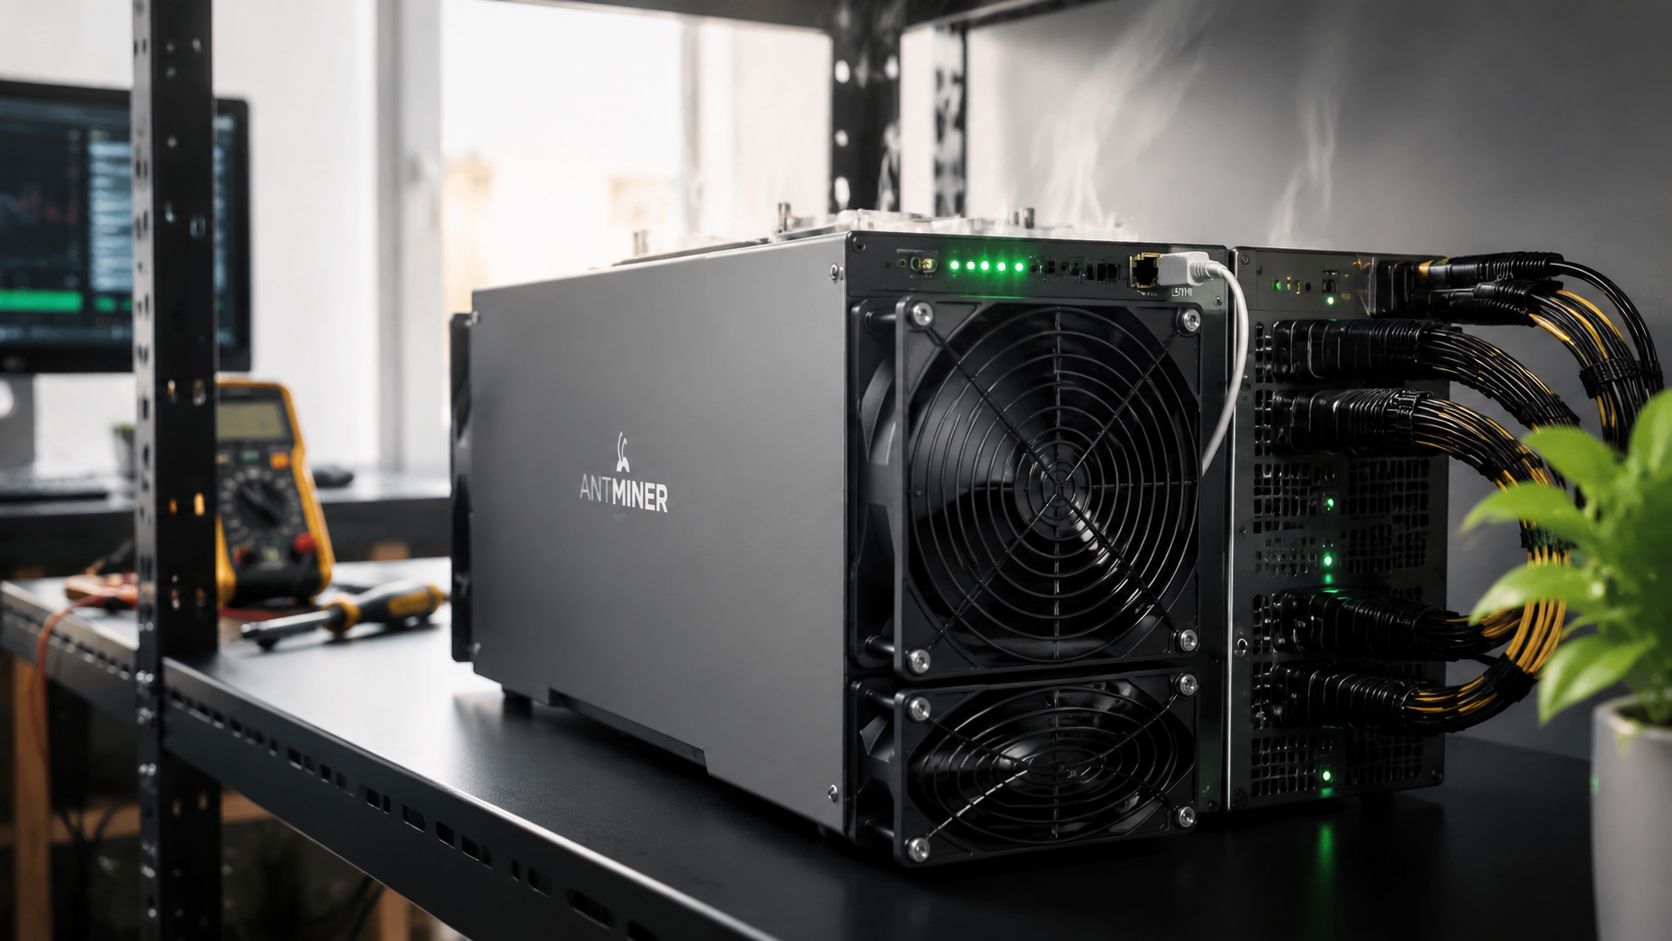
Most advice on Bitcoin miner setup still treats the hard part like a footnote. It tells you how to plug in an ASIC, log into a dashboard, and paste pool credentials. That's the easy part. The part that decides whether your miner stays online is much less glamorous: power capacity, heat exhaust, and noise control.
That's why the “passive income” framing is so misleading. A home ASIC is closer to a small, loud industrial appliance than a side-hustle gadget. If you skip planning and jump straight to shopping, you can end up with a machine that technically works but can't run safely or continuously in your home. Anyone comparing this route with simpler exposure should at least understand alternatives like cloud mining options and their trade-offs, because self-hosted mining is the opposite of hands-off.
Table of Contents
- Beyond the Hype The Reality of Home Bitcoin Mining
- Choosing Your Bitcoin Mining Hardware
- Preparing Your Space Power and Cooling
- Software Configuration and Pool Connection
- Optimizing Performance and Ensuring Profitability
- Conclusion and Common Setup Problems
Beyond the Hype The Reality of Home Bitcoin Mining
Home Bitcoin mining can still make sense, but only if you treat it like an operational project. The machine buys you hashrate. It does not buy you profitability, uptime, or neighbor tolerance. Those come from setup discipline.
A lot of newcomers focus on the digital side because it feels familiar. Pool settings, wallets, dashboards, and payout addresses are visible and easy to change. The physical side is where most mistakes happen. If your room runs hot, your circuit is undersized, or your exhaust path is poor, the miner won't care how clean your pool config looks.
Practical rule: A good Bitcoin miner setup starts with the room and the breaker panel, not the web interface.
There's also a mindset shift that matters. Mining isn't the same as buying Bitcoin, using Ethereum on a Layer 2 network, or experimenting with DeFi yields. With those, your main risks are market, protocol, and custody. With an ASIC, you add real-world operational risk. You're running specialized hardware that converts electricity into heat while competing against a global network.
That changes how you should think about “success.” A successful home miner isn't the person who powers on fastest. It's the person who planned for stable power, controlled airflow, and acceptable noise before the box even arrived.
A clean setup usually shares three traits:
- Power is deliberate: The miner has proper electrical capacity and isn't relying on improvised adapters or overloaded circuits.
- Airflow is engineered: Hot exhaust leaves the space instead of recirculating back into the intake.
- Expectations are realistic: The owner understands that daily operation needs monitoring, maintenance, and occasional tuning.
If that sounds more like operating a compact data cabinet than running a consumer gadget, that's because it is. Once you accept that, your decisions get better.
Choosing Your Bitcoin Mining Hardware
Marketing pushes hashrate because it looks simple. Home miners pay for watts, fan noise, and the amount of heat a box dumps into a room every hour. Hardware choice lives or dies on those three things.
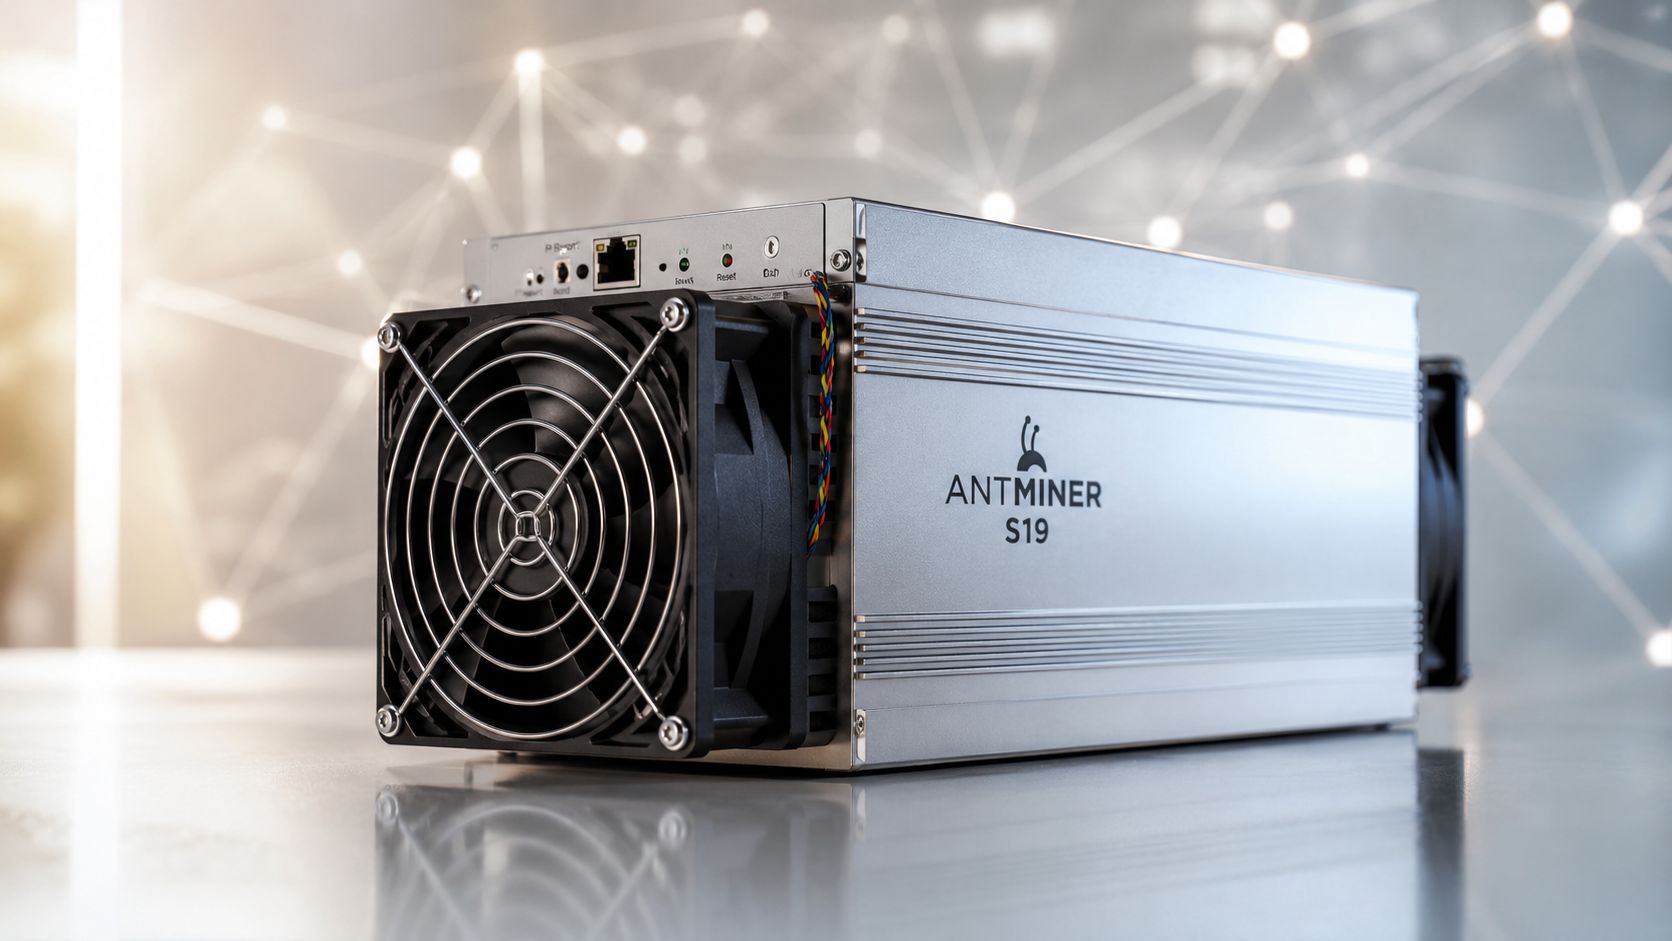
For Bitcoin in 2026, the serious category is still the ASIC. CPUs are irrelevant here. GPUs belong in other workloads. Small novelty miners can teach you how shares, pools, and firmware work, but they do not solve the core problem of home mining, which is producing enough hashrate to justify the power and heat you are taking on.
Efficiency matters more than headline hashrate
If you compare miners the way manufacturers want you to, you will overpay for a machine that is painful to run at home. Compare them by efficiency first. Then look at total draw, fan profile, and physical layout.
As of July 19, 2026, one of the strongest home-focused options on paper is the Antminer U3S23H, rated at 1,160 TH/s and estimated at $10.27 net daily profit at $0.10/kWh, according to the CoinWarz Bitcoin mining calculator. Those numbers can move quickly with difficulty, fees, and Bitcoin price, but the buying lesson stays the same. A miner with better output per watt gives you more room to survive bad conditions.
That matters more at home than many beginners expect. A machine can look outstanding on a product page and still be a poor fit if it forces a costly electrical upgrade, overheats a small room, or screams loud enough that nobody wants it running after day three.
Use this comparison framework instead of chasing the biggest number on the spec sheet:
| What to compare | Why it matters in practice |
|---|---|
| Hashrate | Affects your share of pool rewards, but only makes sense alongside power draw |
| Power draw | Sets your electrical cost and often determines whether the miner is realistic for your house |
| Hashrate per watt | The fastest way to separate current-generation machines from outdated power hogs |
| Form factor and airflow path | Determines how hard it will be to duct exhaust, contain noise, and service the unit |
What still works and what no longer does
Older “budget” ASICs tempt first-time buyers because the sticker price is lower. The operating cost is what hurts. If a used machine is cheap because it is inefficient, you are buying someone else's power bill and noise problem.
The same goes for tiny miners. Devices like the Bit Axe are useful for learning and tinkering, but they are hobby hardware, not serious production hardware for a home operator trying to build steady output against the current Bitcoin network. That distinction matters before you spend money, not after.
A lot of solo mining hardware guides for beginners also need to be read with caution. Solo-mining appeal is easy to understand. For a first setup, though, buying around jackpot odds instead of efficiency usually leads to a machine that is fun to talk about and expensive to run.
If your first question is “What is the highest terahash number I can afford?”, you are still looking at the wrong spec.
Ask these instead:
- Can I power it safely on the circuit I have? A low purchase price does not help if the miner needs infrastructure you have not planned for.
- How much hot air will it dump into my space? Every watt you feed the miner becomes heat you need to remove.
- What does the noise profile look like in a real room? Fan noise is often the factor that gets a home setup shut off first.
- Can I get parts, firmware support, and basic service help? A bargain miner with weak support becomes expensive fast.
Good home mining hardware is usually the box that fits your room and your power rate, not the box with the most aggressive headline specs. Choose for stable operation first. Profit follows from that, not the other way around.
Preparing Your Space Power and Cooling
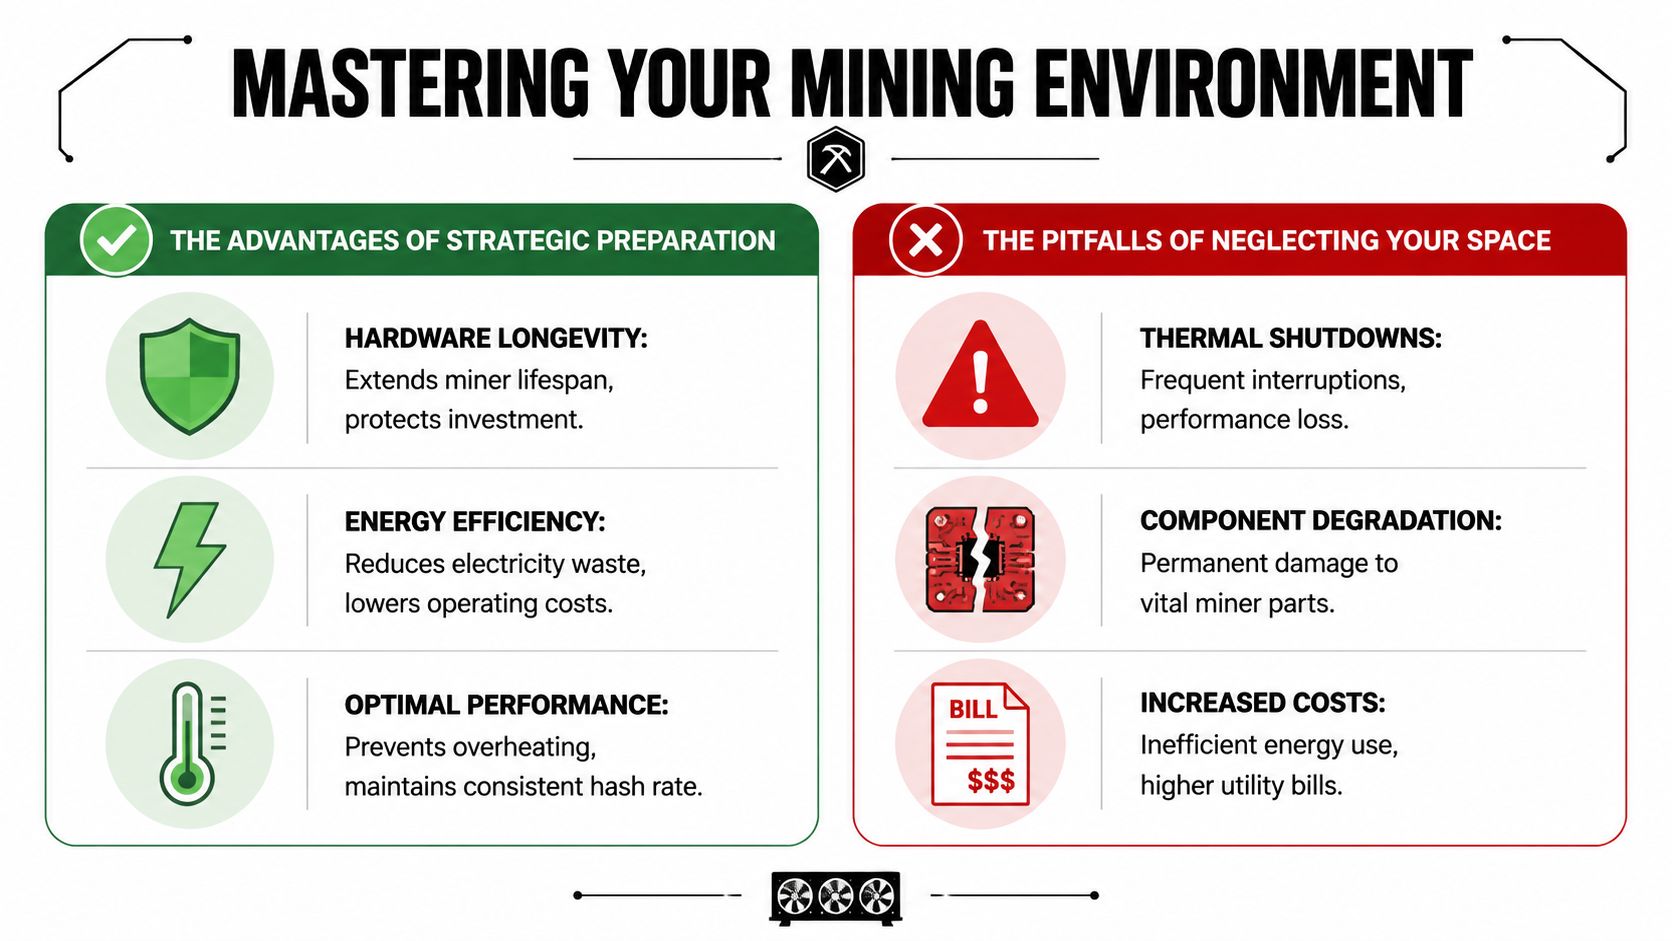
Most failed home mining setups don't fail because the owner couldn't enter a pool URL. They fail because the room turns into a heat trap, the electrical plan was weak, or the noise becomes impossible to tolerate. D-Central's 2026 data says 40% of home miners fail due to thermal or neighborhood-related issues rather than hardware failure, and many are forced to shut down after 3–6 months, as noted in this D-Central-focused operational write-up on space, cooling, and power requirements.
Start with the electrical plan
A modern ASIC is not something you casually plug into whatever outlet is nearby. Most setups need a dedicated 240V circuit with a minimum 30A rating, and each full-size ASIC needs its own dedicated circuit with a 20% power headroom buffer above rated draw, according to D-Central's 2026 home mining electrical guidance.
People often get reckless. They see the miner power on once and assume the setup is fine. Continuous mining load is different from a quick boot test. Heat accumulates. Connections warm up. Weak links reveal themselves after hours, not minutes.
Use a simple sequence:
- Check circuit availability first. Know what capacity your panel and intended room can support.
- Plan for a dedicated line. Don't share the miner's circuit with other large devices.
- Leave headroom. Running near the edge invites nuisance trips and thermal stress.
- Hire a licensed electrician if capacity is missing. This is not a cosmetic upgrade.
A miner that “seems fine” on an overloaded circuit is one of the most expensive false positives in home mining.
Handle heat before first power-on
Heat is constant. If the exhaust has nowhere to go, your intake temperature rises, fan speed climbs, and performance gets worse. Then the room gets hotter, and the cycle repeats.
The basic goal is straightforward. Bring in cooler intake air, push hot exhaust out, and prevent the two streams from mixing. That often matters more than making the room look tidy.
A practical home approach usually includes:
- Exhaust direction: Point the miner so hot air naturally leaves the space instead of blasting across the room.
- Ventilation path: Use a room, garage corner, utility area, or enclosure where you can control airflow.
- Temperature awareness: Keep conditions stable enough that the miner isn't constantly fighting ambient heat.
If you're trying to run multiple ASICs in a small residential area, HVAC planning becomes even more important. The physical setup can become the limiting factor long before software does.
Noise is a shutdown risk, not a comfort issue
Many first-time miners underestimate this one badly. Noise isn't just annoying. It can end the project.
Residential setups have to coexist with family, housemates, and neighbors. Some homes can isolate sound better than others, but the pattern is common: what feels tolerable during the first test run often becomes unacceptable once the miner runs continuously.
Here's what usually works better than generic “soundproofing” advice:
- Distance helps more than decoration: Put the miner in a separated utility space if possible.
- Ducting beats denial: Controlling airflow and exhaust often reduces both heat frustration and perceived noise.
- Isolation matters: Hard surfaces can transmit vibration through walls, shelves, and floors.
- Check local tolerance early: Don't wait for complaints to discover your setup doesn't fit the property.
A sustainable Bitcoin miner setup is one that people around you can live with. That's not a soft consideration. It's an operating constraint.
Software Configuration and Pool Connection
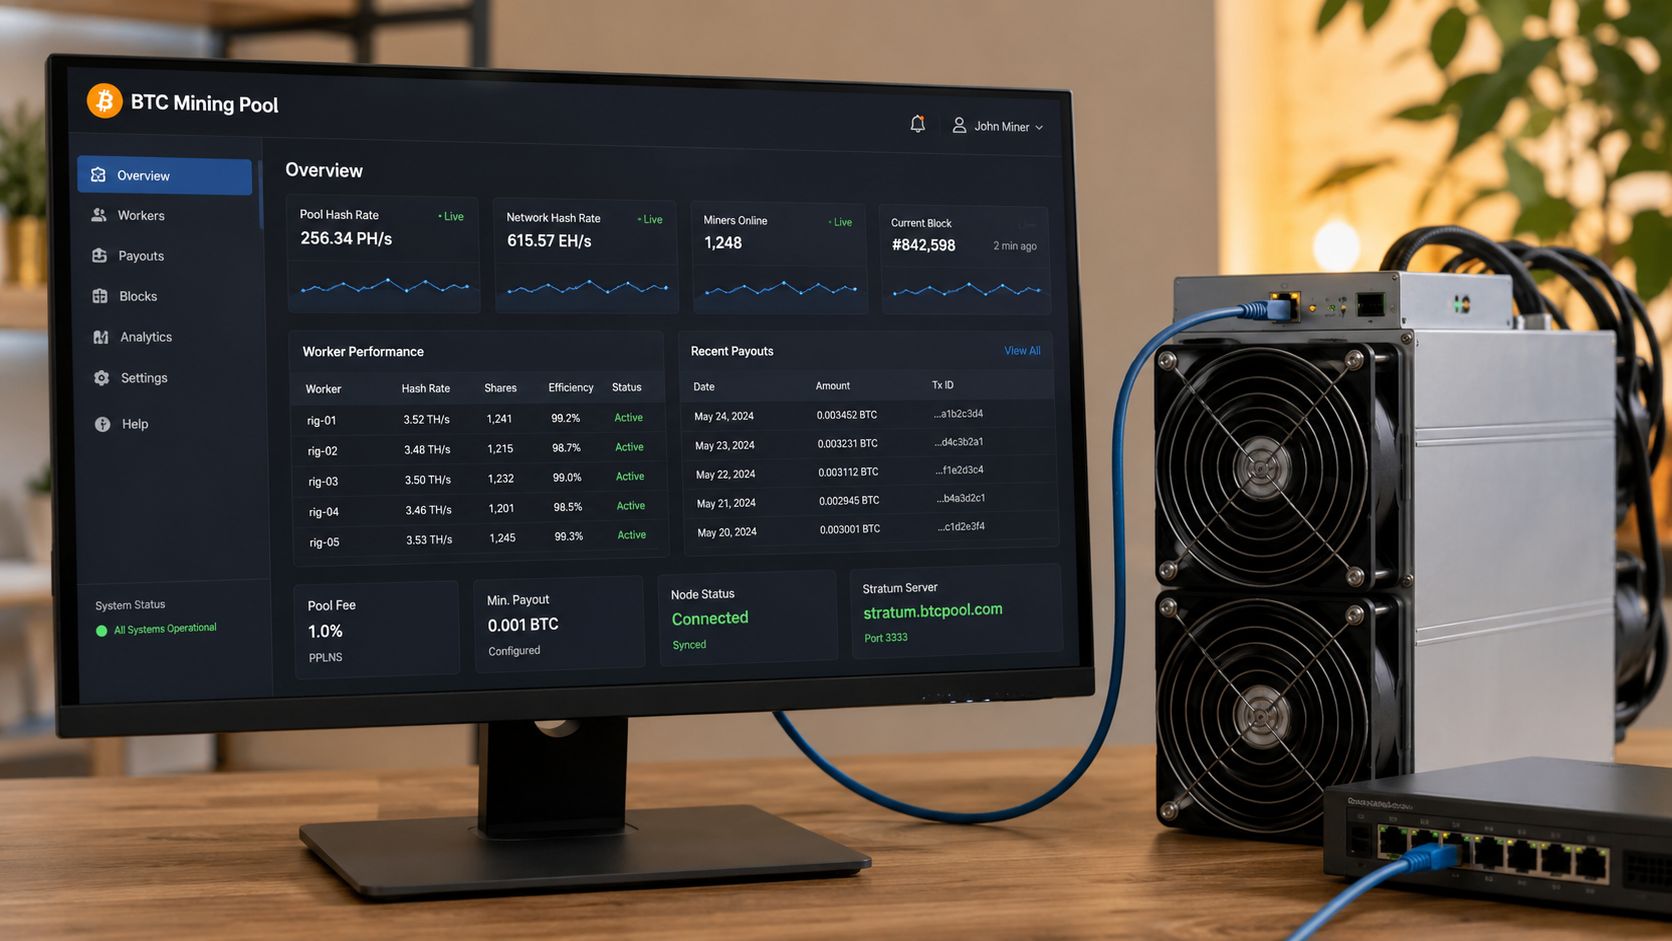
Once the physical side is solid, the digital setup is fairly routine. Most ASICs follow the same path: connect power, attach Ethernet, find the miner on your local network, log into the control panel, and enter pool details.
Bring the miner onto your network
For ASICs, wired Ethernet is mandatory. Standard home-style Wi-Fi convenience doesn't translate well here, and a proper Bitcoin miner setup should assume a stable wired link from day one.
The startup flow is usually simple:
- Connect Ethernet before power-on: That avoids chasing avoidable discovery issues.
- Find the miner on your router or with a scanner tool: Most units expose a browser-based admin panel.
- Change default credentials immediately if the device still has them: Basic hygiene matters, even on a home network.
- Enter your pool URL, worker name, and payout details carefully: Small typos waste time and can leave the machine hashing nowhere useful.
If you're coming from other crypto infrastructure, this part feels more like configuring a network appliance than using a wallet. It's less like interacting with smart contracts on Ethereum or a Web3 app, and more like bringing specialized hardware online reliably.
Pool mining is the only sensible default
This is where reality hits. Solo mining appeals to people because the idea is clean: one machine, one jackpot. But the math is brutal. A 1.2 TH/s miner faces odds of approximately 1 in 666 billion per block, which is why joining a pool is necessary for any viable home setup, and pools typically charge 1% to 1.5% in fees while paying proportional rewards, as described in this YouTube breakdown of current solo mining odds and pool economics.
That's why a pool isn't a compromise. It's the default operating model for home miners.
Regular, smaller pool payouts are what turn hashrate into something usable. Without a pool, most home miners are just buying lottery tickets with electricity.
After you enter pool credentials, watch the dashboard for accepted shares. That tells you the miner is contributing useful work.
First boot checks that actually matter
At this stage, skip vanity metrics and look for the basics:
- Pool connection status: The miner should show an active connection quickly.
- Accepted shares: This confirms productive hashing.
- Stable fans and normal temperatures: Sudden spikes usually point back to airflow problems.
- Consistent hashrate ramp-up: A miner stuck near zero often has a config, network, or thermal issue.
If you want a visual walkthrough of what the pool side typically looks like in practice, this dashboard-style example is useful:
The software part isn't hard. The hard part is making sure the machine can keep doing it all day without unstable power, stale connectivity, or thermal throttling.
Optimizing Performance and Ensuring Profitability
A miner that powers on and starts hashing has only cleared the easy part. The ultimate test is whether it can run for days in your house, on your circuit, with your airflow, without cooking itself or turning your power bill into a bad surprise.
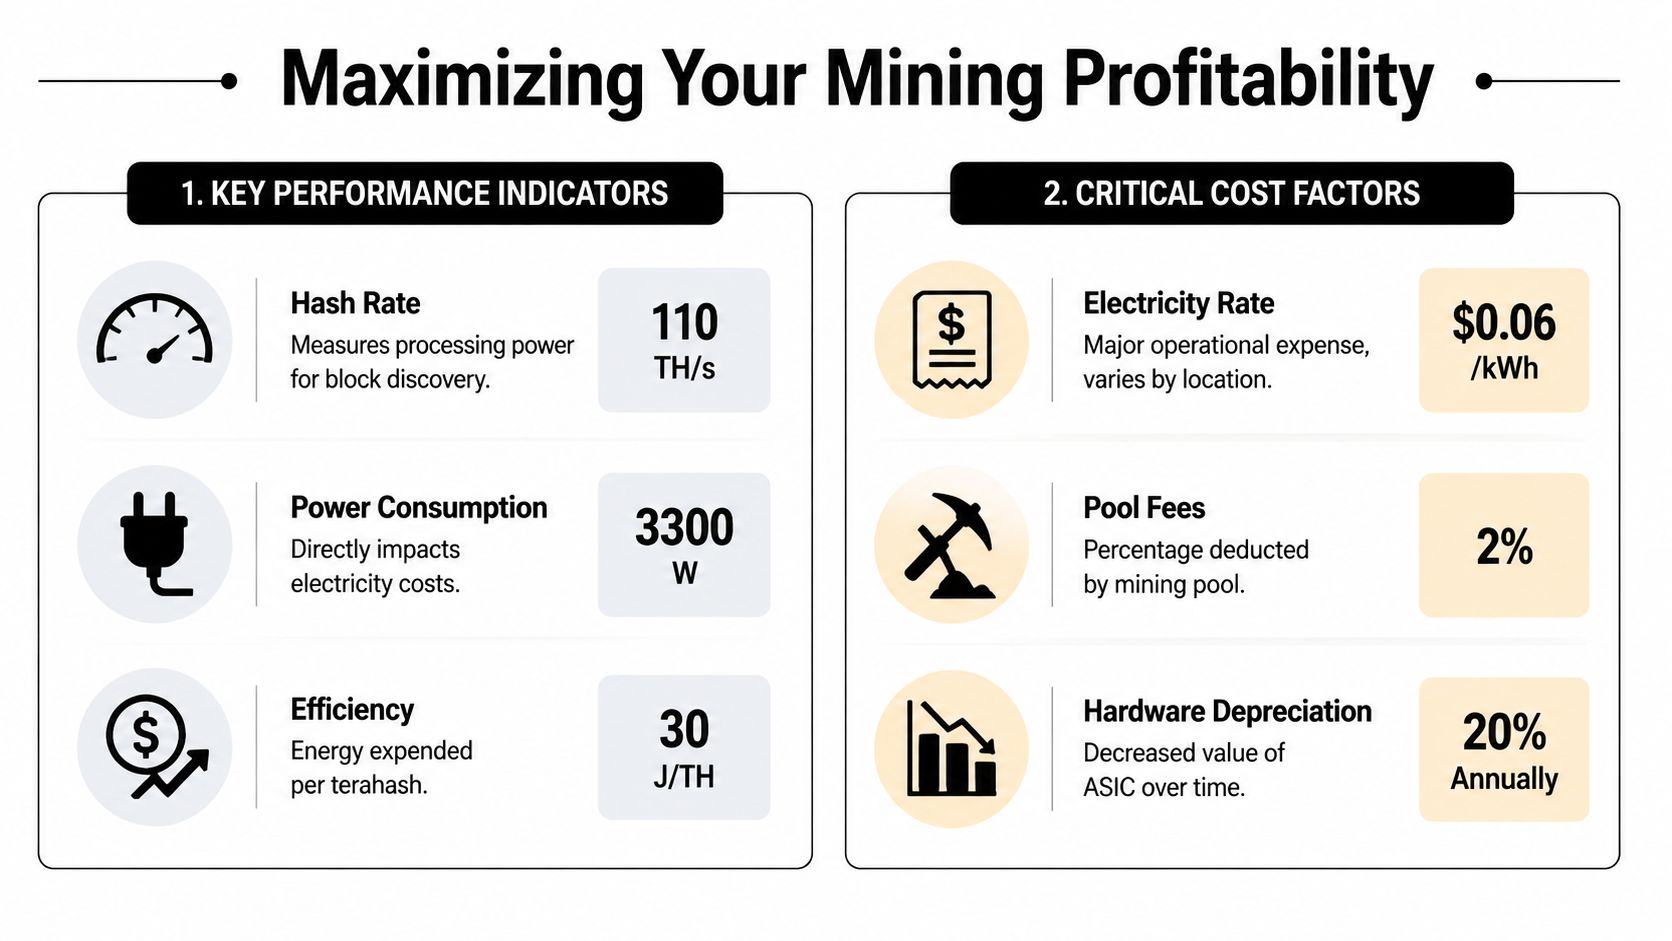
Watch the metrics that predict trouble
During the first few days, ignore vanity screenshots and watch the numbers that tell you whether the setup will hold. Hashrate should settle, temperatures should stop climbing, and rejected shares should stay low. If any of those drift, the cause is usually in the room, the airflow path, or the power feed long before it is a dead control board.
Check these four items first:
- Hashrate stability: Short swings are normal during ramp-up. Repeated drops usually point to heat, firmware instability, or power issues.
- Chip temperatures: Rising temps often mean clogged intake, hot exhaust recirculation, or not enough fresh air exchange.
- Accepted vs. rejected shares: Rejections eat revenue. A miner can sound healthy and still perform poorly at the pool.
- Uptime: Random reboots rarely fix themselves. Look at wall power, breaker load, and thermal conditions before blaming the machine.
Error rates matter too. If hardware errors start climbing, stop chasing more speed and fix the basics first. In home setups, poor airflow and marginal power cause far more trouble than ambitious tuning.
Tune only after the miner proves it can run clean
Custom firmware and autotuning can improve efficiency, but they are not the first job. Stock settings give you a baseline. That baseline tells you whether the room, circuit, and exhaust plan are good enough to support further changes.
Use a simple process:
- Run stock settings first. Confirm the miner stays stable in the room where it will live.
- Record a baseline. Note hashrate, temperatures, fan behavior, and share quality at the pool.
- Change one thing at a time. Firmware, fan targets, frequency, and placement should not all move together.
- Stop at the first sign of instability. Small efficiency gains are not worth daily resets or rising error counts.
Good tuning is boring. That is usually a good sign.
There is also a timing problem that new miners underestimate. Your machine might be running perfectly while block rewards and network competition make the economics worse. If you want the background on that pressure, read this Bitcoin halving explainer before you assume today's payout level will hold.
Your power rate decides more than your hashrate does
Home mining lives or dies on electricity cost. A strong dashboard does not save a weak tariff. If your rate is high, the machine can be technically healthy and still be financially wrong to run.
Start with your real cost per kWh, not the headline number from a retailer ad. Include supply charges, time-of-use pricing, and seasonal changes if they apply. For Australian miners, this electricity bill breakdown for NSW & QLD is a useful reference for turning utility jargon into a number you can compare against mining revenue.
Then track profitability like an operating discipline, not a one-time calculator result:
- Measure your true electricity cost: Household billing often lands higher than expected once all charges are included.
- Count support loads: Extraction fans, duct boosters, or added room cooling can change the math.
- Review pool performance weekly: Lower share quality or more rejects reduce revenue even when local hashrate looks fine.
- Compare BTC income and fiat cost separately: The miner earns Bitcoin, but your bills are fixed in local currency.
That last point matters at home. Heat, noise, and power losses do not show up cleanly on a miner dashboard, but they hit your daily operating cost fast. A setup becomes profitable when it runs predictably, stays cool enough to avoid throttling, and does not force expensive fixes every few weeks.
Conclusion and Common Setup Problems
A strong Bitcoin miner setup is built on a simple hierarchy. First power, then cooling, then noise control, then software, then tuning. Reversing that order causes most beginner pain.
If there's one habit worth keeping, it's this: treat the miner like equipment that needs observation. That mindset applies whether you're mining Bitcoin directly or evaluating other corners of crypto infrastructure where physical systems matter, including AI-linked compute narratives or real-world asset tokenization projects that still depend on boring operational details behind the scenes.
There's also a broader responsibility angle. Mining at home means thinking about energy use, hardware lifecycle, and waste. If you're trying to build a more responsible operating model around your setup or business footprint, this guide to managing your company's carbon impact is a useful starting point.
A practical troubleshooting list
Here are the problems that show up first and most often:
- Miner doesn't appear on the network: Start with the physical basics. Check Ethernet seating, router port status, and whether the miner fully booted before you started scanning for it.
- Hashrate stays at zero: Recheck pool URL, worker credentials, and if the miner is connecting to the pool. A typo is more common than a dead machine.
- Hashrate starts normally, then drops: That usually points back to heat. Look at intake air, exhaust recirculation, and whether the room got much hotter after the first hour.
- Frequent disconnects or unstable pool status: Inspect cabling and network stability first. Home miners often blame the pool when local connectivity is the cause.
- Unexpected restarts: Think power before software. Dedicated circuits, clean delivery, and proper headroom solve more problems than endless config edits.
Home mining still attracts people for good reason. It's one of the most direct ways to participate in Bitcoin infrastructure. But the rewarding setups are the disciplined ones, not the impulsive ones.
If you want more practical crypto guides that skip hype and focus on what works, explore Coiner Blog. It's a solid place to follow grounded coverage on Bitcoin, mining, Web3 infrastructure, DeFi, and the operational side of digital assets.