How to Mint an NFT: Step by Step on Ethereum
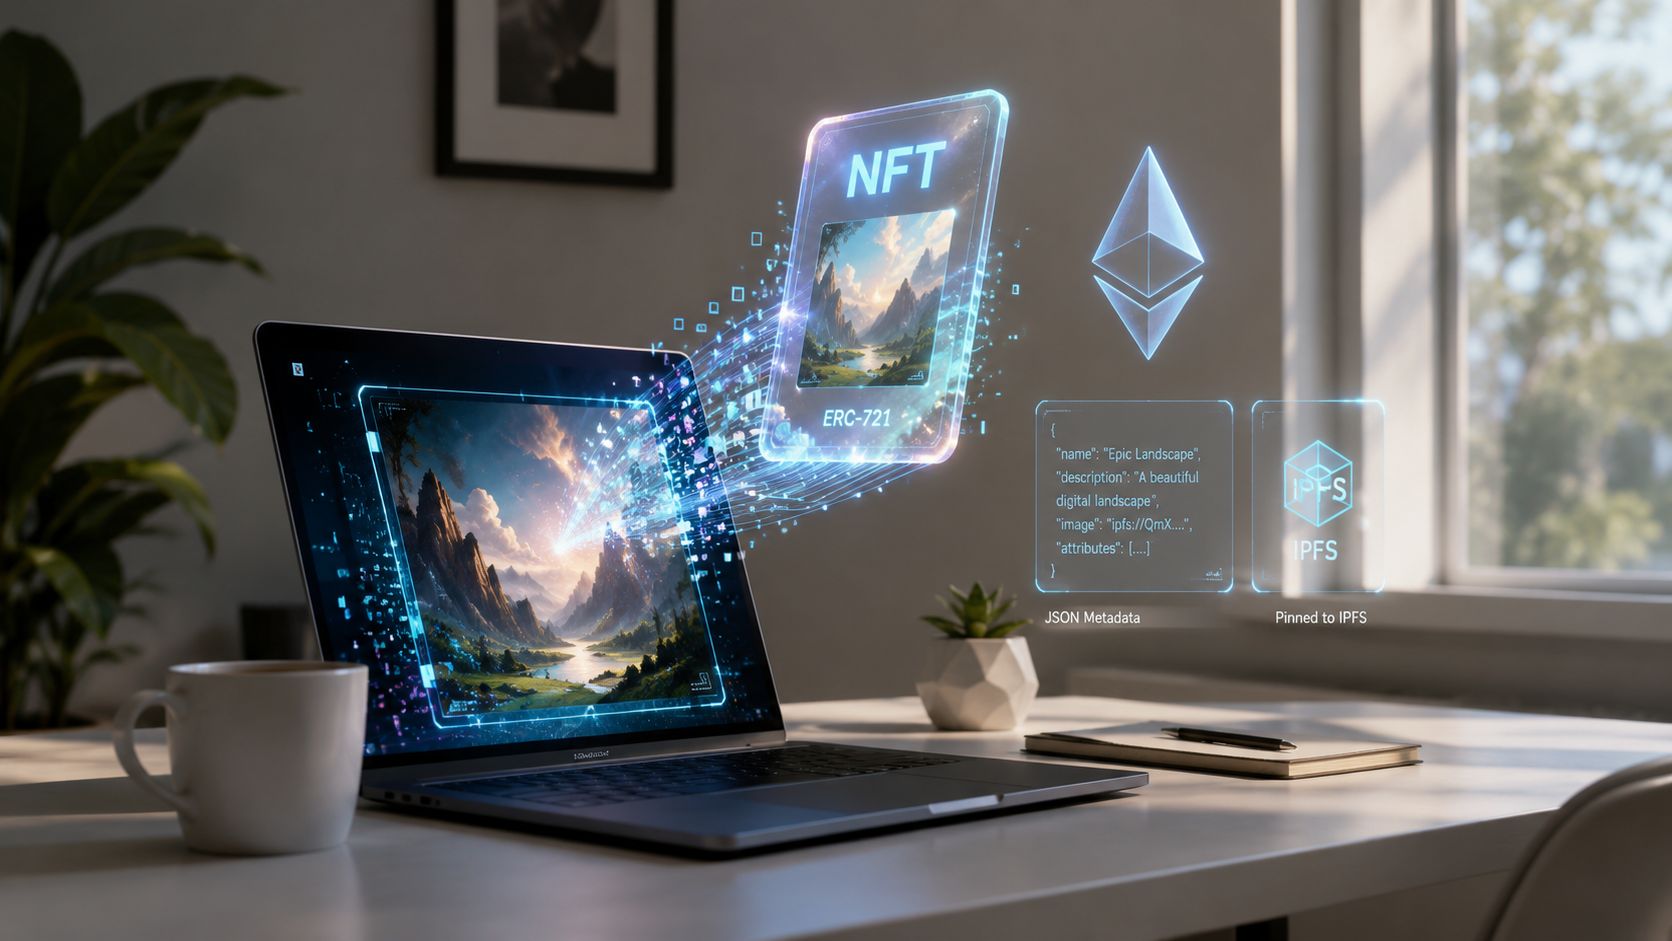
You've finished the artwork, picked a name, and now you're staring at the last step that feels simple until it isn't. How to mint an NFT usually looks like an upload button, but the actual work starts with wallet setup, chain choice, metadata, gas, and the smart contract path you pick. If you want the short version, minting is a blockchain transaction, not just publishing a file, and that distinction is what separates a smooth launch from a failed one. For the background mechanics of NFTs themselves, this overview of how NFTs work is a useful companion piece.
Table of Contents
- Introduction to NFT Minting
- Setup Wallet Funds and Chains
- Prepare Artwork Metadata and Storage
- Choose Marketplace versus Contract Minting
- Execute Minting with Gas and Cost Optimization
- Configure Royalties and Metadata Standards
- Troubleshooting Tips and Legal Considerations
Introduction to NFT Minting
You've got a finished digital piece and you want collectors to see it as more than a file. Minting is the moment the asset gets written on-chain, which is why the wallet, the network, the metadata, and the transaction all matter at the same time. Ethereum's minting tutorial makes that clear by treating the process as a signed blockchain transaction that depends on the correct wallet state and a valid nonce, not just an upload action Ethereum NFT minting tutorial.
That matters because the common beginner mistake is to treat minting like a media post. It isn't. The file is prepared off-chain, then the NFT is created on-chain, and the mint only succeeds cleanly when the contract call, the wallet signature, and the metadata all line up. That's also why creators run into trouble when gas settings are off, the wrong address is used, or the token URI points somewhere fragile.
Practical rule: if you can't describe where the asset lives, which wallet signs the mint, and what contract receives the transaction, you're not ready to mint yet.
Modern minting is more standardized than it used to be. Marketplace flows now look familiar, connect a wallet, create or select a collection, upload the asset, fill in metadata, and mint. Developer flows still exist for people who want more control, especially when they care about contract verification, fairness, or long-term asset integrity Hedera's minting guide, Chainlink's minting walkthrough.
Setup Wallet Funds and Chains
Start with the wallet, because nothing else works without it. A browser wallet such as MetaMask is the usual entry point, and the seed phrase needs to be backed up before anything touches mainnet. The wallet is also where you'll sign the transaction, so if the wrong account is active, the mint goes to the wrong owner or fails outright.
For Ethereum-based work, the development path is especially concrete. The official tutorial asks creators to get test ETH from the Sepolia faucet, create a project folder with mkdir my-nft, move into it with cd my-nft, and initialize the project with npm init, while also noting that Node.js and npm are required Ethereum NFT deployment tutorial. That's a reminder that even “simple” NFT creation still depends on standard software tooling.
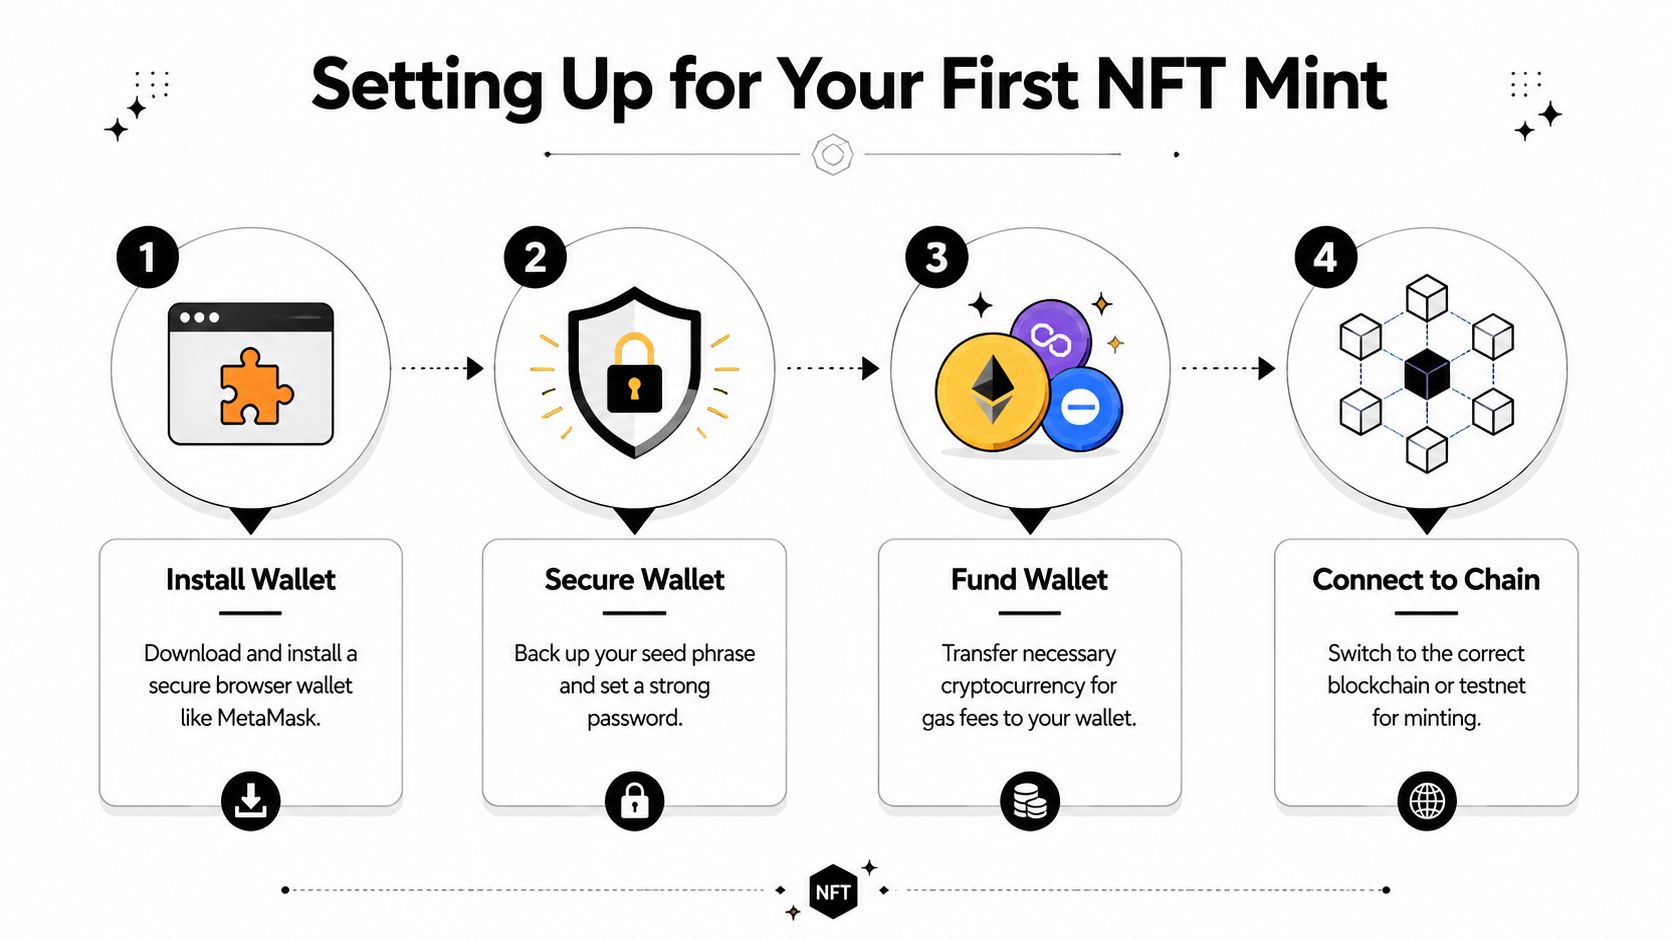
Setting up the wallet flow
- Install Wallet. Download a secure browser wallet like MetaMask and make sure the extension is the official one, not a lookalike.
- Secure Wallet. Back up the seed phrase and set a strong password before you connect to any marketplace or dapp.
- Fund Wallet. Add the native token you'll need for gas fees, or test ETH when you're on Sepolia.
- Connect to Chain. Switch to the correct blockchain or testnet before you click mint.
Minting on Ethereum uses standard transaction rules, so the wallet must have enough balance to cover network fees. Ethereum's minting tutorial also shows that creators work with a private key and public key from an .env file, then use getTransactionCount because the nonce tracks transactions from an address and helps prevent replay attacks Ethereum minting tutorial. In plain English, every mint needs a valid wallet address, a signed transaction, and the right nonce order.
If you're comparing wallet options or helping a less technical collaborator get started, this beginner wallet guide is a practical reference point. It helps reduce the “which wallet do I install?” friction that stalls many first-time launches.
Prepare Artwork Metadata and Storage
The file itself comes first, but the NFT depends on the metadata that points to it. A technically sound workflow is to choose the chain and token standard, create the media plus JSON metadata, store the assets on IPFS or Arweave, connect a wallet with enough native token for gas, then mint through a marketplace UI or a contract call CryptoRBIX on NFT minting workflows. That order matters because the token can mint successfully and still be fragile if the storage layer is unstable.
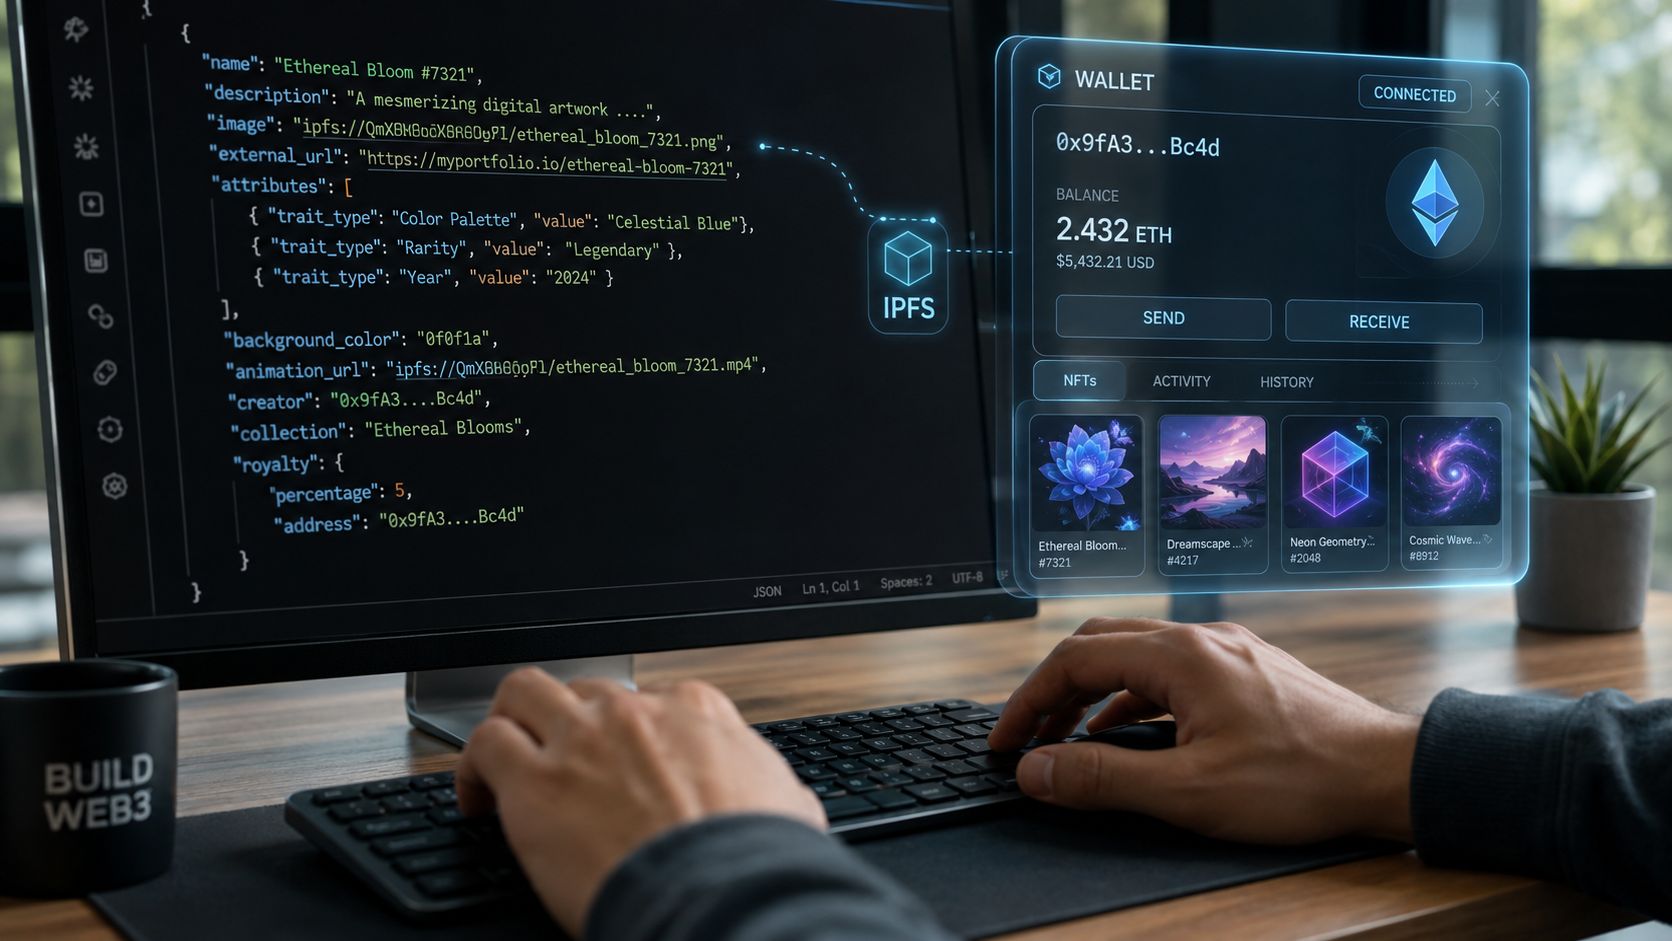
Metadata that actually survives
A clean metadata file usually includes a name, a description, a link to the image, and whatever attributes help collectors and marketplaces display the token correctly. If you're minting a single-edition artwork, ERC-721 is the typical standard. If you're batching or issuing semi-fungible items, ERC-1155 is the more natural fit CryptoRBIX on ERC-721 and ERC-1155.
The biggest operational risk is permanence. If the token URI points to mutable web storage, the mint can succeed and the NFT can still lose integrity later. That's why decentralized storage, especially IPFS pinning or Arweave archival, is the safer route for serious launches CryptoRBIX on metadata permanence.
For creators optimizing media before upload, compress photos efficiently offline is a useful workflow step because it helps keep source files manageable before they're pinned or archived. It's not about polishing the image for vanity, it's about keeping the asset pipeline practical.
Practical rule: if the image can disappear, change, or be replaced without warning, the NFT isn't truly stable even if the mint itself works.
Choose Marketplace versus Contract Minting
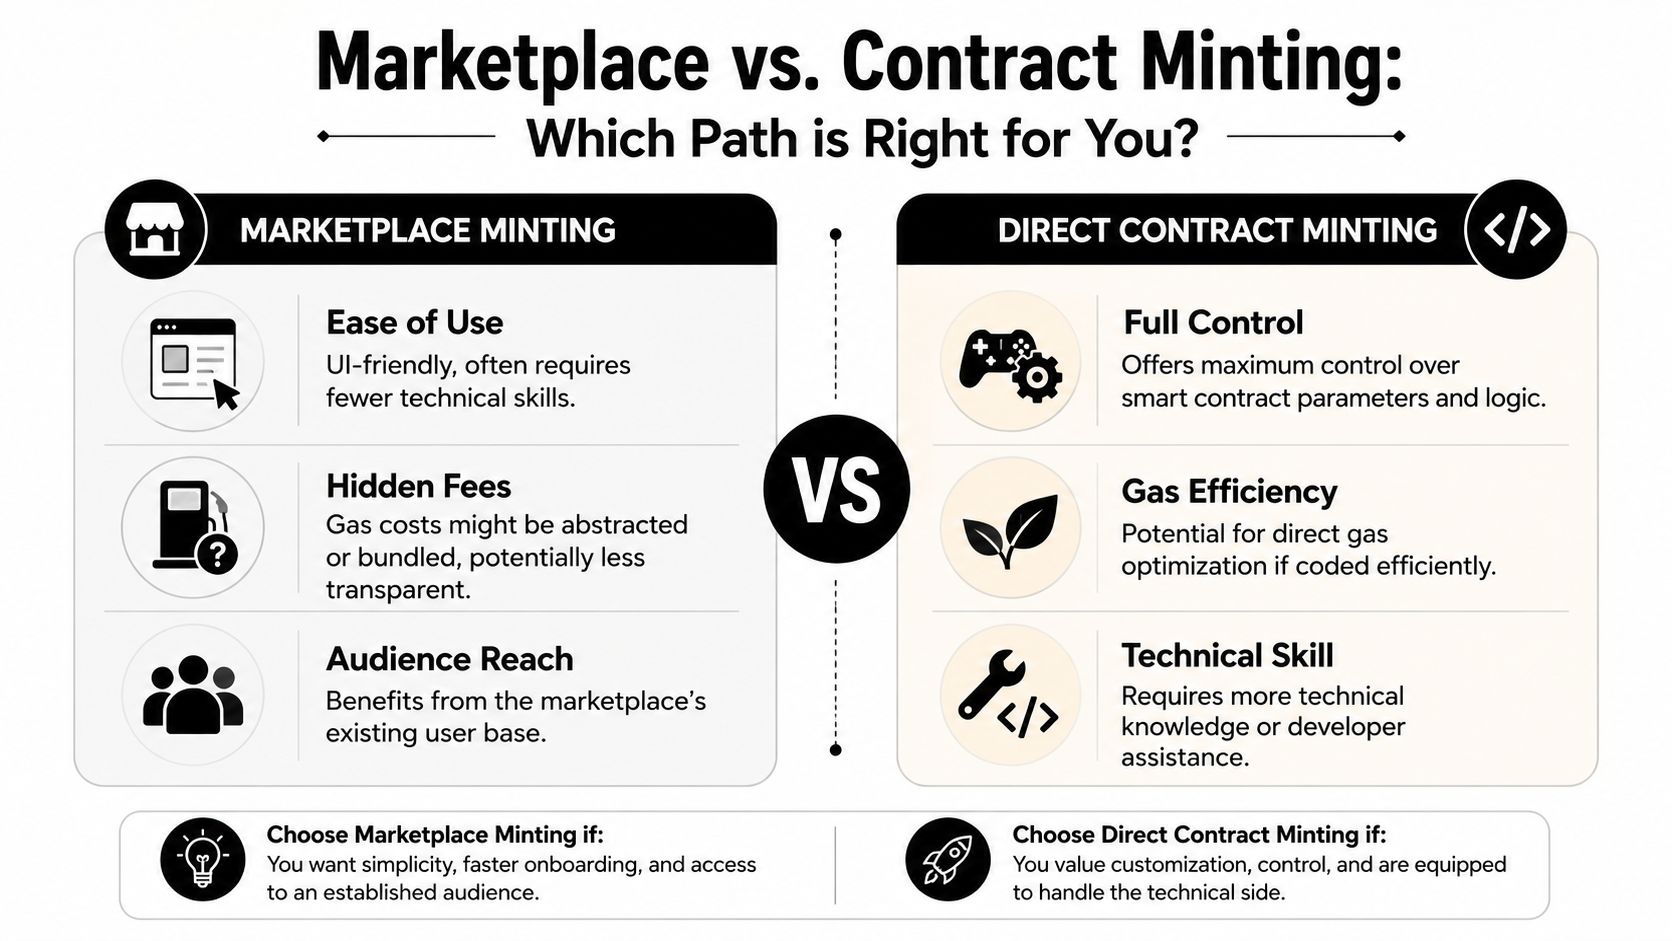
The easiest mint path is usually a marketplace UI. You connect a wallet, create or select a collection, upload the asset, add metadata, and click the mint or create button. Hedera's guide describes that standardized flow, and OpenSea's setup notes that creators first create a collection by deploying a smart contract, naming the collection, and uploading a logo before the user uploads the work after connecting a wallet Hedera minting guide.
The trade-off is control
Marketplace minting is friendlier for first-time creators. It hides some of the contract complexity, and it usually gets you from upload to live NFT with less friction. The downside is that the fee structure, gas handling, and some contract behavior can feel abstracted, which makes debugging harder when something goes wrong.
Direct contract minting is the better fit when you care about transparency or need to verify exactly what's happening on-chain. It gives you direct access to mint functions, and it's easier to confirm whether the contract is behaving as expected before you submit a transaction. That control is especially useful for creators who want more confidence in the launch process or who are working with developers on custom mechanics.
Practical rule: use the marketplace when speed and simplicity matter most, use the contract when you care about control, verification, or launch-specific logic.
The contract route also tends to surface problems earlier. If the contract is verified, you can open it in a block explorer such as Etherscan, go to Write Contract, and call the mint or safeMint method directly with your wallet address Chainlink on contract-based minting. That reduces dependence on third-party mint pages and makes it easier to catch wrong function calls, underfunded gas, or a mint going to the wrong address. For launches where fee minimization and layer choice matter, Layer 2 scaling solutions are worth comparing before you commit.
Execute Minting with Gas and Cost Optimization
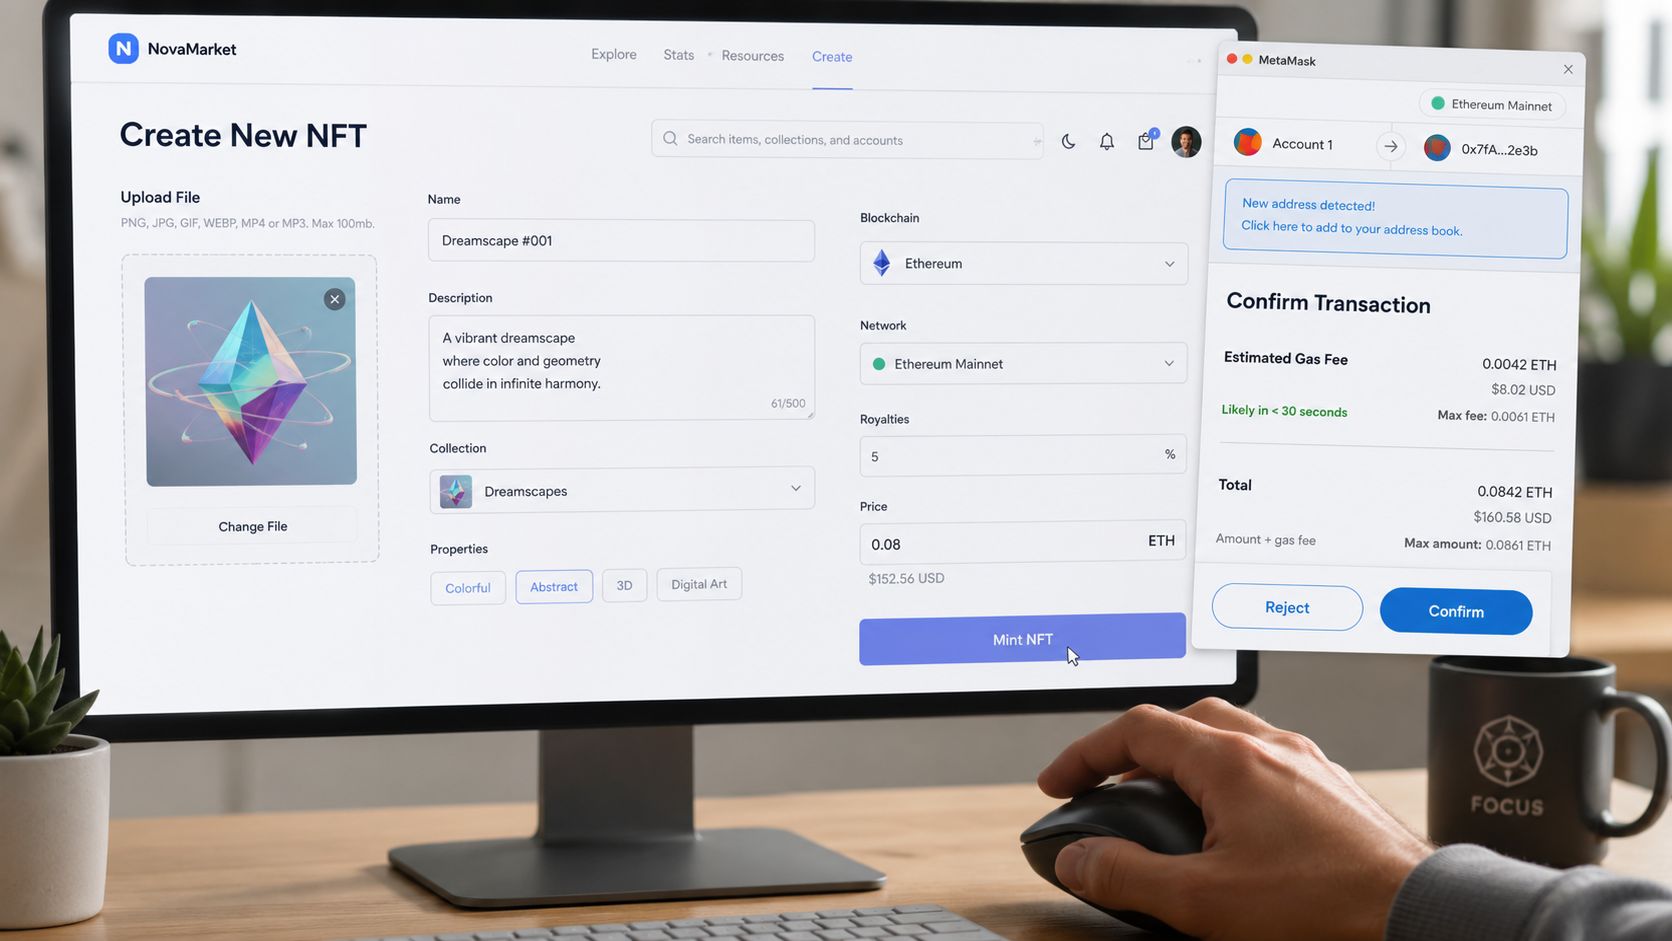
The last step is the one that feels obvious, and it's where many mints still fail. In a marketplace flow, you click mint, review the wallet prompt, and approve the transaction only after checking the recipient, the amount, and the network. In a contract flow, you're sending a direct call against the contract, so the same discipline applies even if the interface looks more technical.
What to verify before you sign
- Correct wallet address. Make sure the mint is going to the intended creator or recipient address.
- Right network. Sepolia, mainnet, or another chain should match the contract and the minting tool.
- Gas funding. The wallet needs enough native token to cover the transaction.
- Nonce order. If earlier transactions are pending or stuck, the mint can fail or queue incorrectly.
Ethereum's tutorial makes the transaction logic explicit. Creators use the private key and public key from the .env file, then calculate the nonce with getTransactionCount because the nonce tracks how many transactions have been sent from the address and helps prevent replay attacks Ethereum minting tutorial. That's why a seemingly small wallet mismatch can break the whole process.
Direct minting without the marketplace layer
If the contract is verified, you can skip the marketplace page and interact with the mint function through a block explorer. Open the contract, go to Write Contract, and call mint or safeMint with your wallet address Chainlink's verified-contract workflow. That path is often cleaner for debugging because it shows whether the failure is in the contract, the wallet, or the front end.
For creators working on Ethereum, a reliable sequence is to test on Sepolia first, confirm the transaction hash, then move to the live network once the settings are stable. If the mint gets dropped or looks stuck, a block explorer check is the fastest way to see whether the transaction was mined, pending, or rejected. For developers thinking about where transaction costs make the most sense, this Layer 2 overview is a practical follow-up.
Configure Royalties and Metadata Standards
Royalties are easiest to think about as part of the contract, not an afterthought. If you're creating a collection that should continue paying the creator on secondary sales, the royalty settings need to be clear before the asset is minted or listed. That's also where the metadata standard matters, because marketplace compatibility depends on the NFT being described in a way the rest of the ecosystem can read.
A solid workflow is to verify the creator address, royalty percentage, collection name, and token URI before the mint goes live. If you're using a marketplace interface, confirm that the royalty field is attached to the correct collection. If you're using a contract, make sure the royalty logic is encoded where the marketplace can detect it. For a helpful deep dive into the economics side, understanding artist smart contract payments is worth a look.
Standards and downstream compatibility
ERC-721 is the usual choice for a one-of-one artwork or a single collectible. ERC-1155 is better when the same asset or similar assets need to be minted in batches. The standard doesn't just affect mint mechanics, it also shapes how wallets, marketplaces, and analytics tools display the collection.
Practical rule: don't assume the marketplace will infer your intent. If the creator address, royalty logic, and metadata URI aren't right at mint time, you may not get a clean second chance.
A quick pre-mint checklist helps catch avoidable mistakes:
- Confirm creator attribution. The wallet tied to the collection should be the one you intend.
- Check royalty settings. The field should match the collection's revenue plan.
- Review metadata URI. Make sure it resolves to the intended JSON object.
- Validate standard choice. Single edition or batch issuance should match the contract type.
Once the collection is live, keep the metadata consistent with the contract. That's the part collectors notice later, especially when they try to open the token in wallets or marketplaces that rely on standard fields.
Troubleshooting Tips and Legal Considerations
Most mint failures come from a small set of issues, and none of them are glamorous. The transaction might be using the wrong network, the nonce might be stuck behind an earlier pending transaction, the wallet may be underfunded, or the token URI may resolve to the wrong metadata. If the mint page looks fine but the NFT never appears, check the contract call and the explorer before assuming the collection is broken.
Launch fairness matters too, especially for drops with random metadata. A guide to designing effective NFT launches, available at Paradigm on NFT launch design, identifies unexploitable fairness as the most important property for these drops. It recommends strong randomness and avoiding pre-reveal metadata disclosure before purchase and settlement. That's a useful reminder that reveal timing isn't just a marketing choice, it can affect trust.
Security and legal basics
Private keys, seed phrases, and signing prompts should never be shared. Phishing links often copy real mint pages closely, so it's safer to verify the contract and the wallet destination before approving anything. If a launch involves collaborator rights, licensing terms, or artwork ownership questions, it's smart to document those agreements early and keep them separate from the mint flow.
For creators who want a broader IP perspective, safeguarding business assets effectively is a useful legal resource to review alongside the mint setup. It's especially relevant when artwork, branding, and distribution rights intersect.
A practical final checklist looks like this:
- Recheck the contract address. One wrong character can send a mint to the wrong place.
- Verify the token URI. The JSON should load cleanly and match the intended asset.
- Audit the wallet prompt. Confirm the chain, amount, and recipient before approving.
- Document rights and sales. Keep records for copyright, licensing, and tax handling.
- Protect the seed phrase. Never paste it into a website or share it in chat.
If you're planning your first collection, start with a test mint, confirm the metadata and reveal behavior, then move to the live deployment once the wallet, contract, and storage layers all line up. A careful mint is usually a better mint.
A CTA for Coiner Blog.